
Our editors have independently chosen the products listed on this page. If you purchase something mentioned in this article, we may earn a small commission.
September 1, 2022 — 12:31 PM
Even makeup icons themselves learn new techniques every once in a while—so if you shy away from experimenting with your looks in fear that you won’t succeed, remember that makeup is all about practice. Eyeshadow is one part of the process that can be incredibly challenging, but we’ve discovered one hack that will level up your lid look in no time, thanks to TikTok.
How to nail a cut crease using your eyelash curler.
Of all the dramatic eyeshadow looks, none is more popular than the cut crease. To master the striking beat, you run a darker shadow along your lid crease with a clean, crisp line, essentially cutting the crease from the rest of the lid. Traditionally, makeup fans achieve this clean line by using teeny-tiny brushes, concealer, or another time-intensive strategy.
But thanks to TikTok, those days are over. You can achieve the same tidy cut-crease using your eyelash curler as a guide. Yep, that’s right—that little tool has more uses than you might have thought. Here’s the how-to:
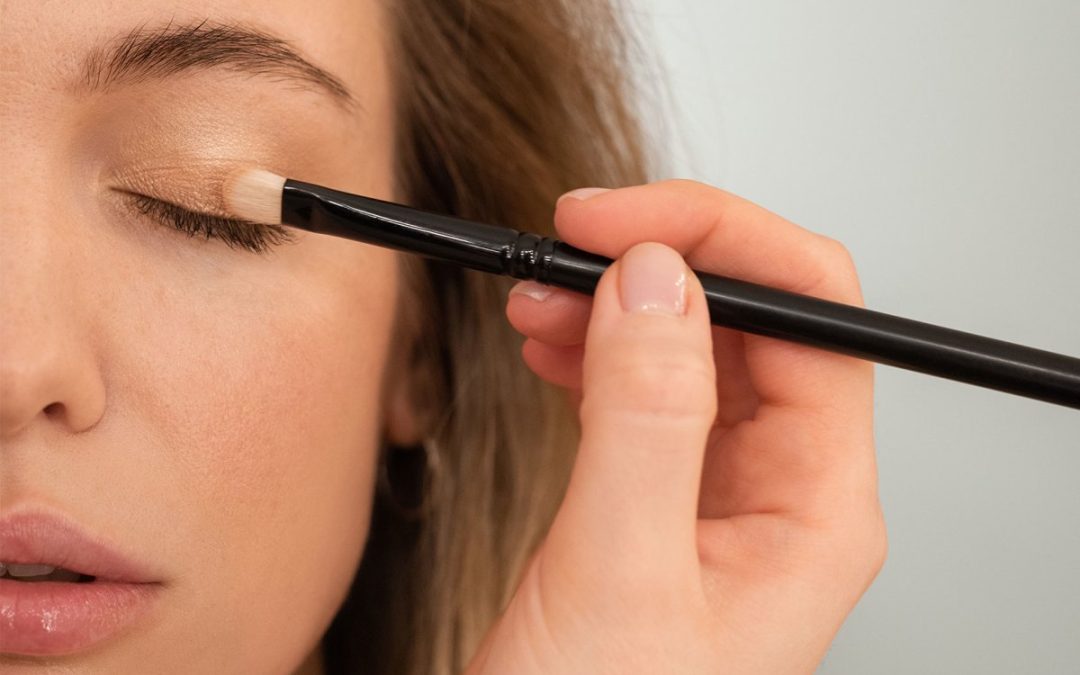
First, you’ll want to apply an eyeshadow primer or tacky concealer to the lid and blend. Then set with a finishing powder or lighter color eyeshadow. This will ensure your eyeshadow stays in place from day to night and beyond. You can add another color or shimmer to the lid later on. For now, keep it neutral.
2. Place your eyelash curler.
beauty & gut collagen+
A powerful daily ritual for glowing skin and strong hair & nails*

Then hold your eyelash curler straight and place it so that the top arch of the curler touches the bottom of your brow bone. You’ll want the curler to run from the inner corner to just outside the lash line—however, you can easily shorten or extend the line to match your eye shape.
3. Run your shadow along the metal arch.
Now that you’ve placed your curler, take a fluffy crease brush and run your selected color along the top arch of the curler. Be sure to go from end to end without cutting short on either side. This will ensure you’re left with a long line to work with in the next step.
Last step: Connect your wing. This isn’t a traditional winged-eyeliner look, but instead, you’re connecting the top line you just created with another winglike extension from your bottom lash to create a cat-eye look.
Using a smaller, tightly packed flat or angled brush and the same shadow, create a straight line following your bottom lash line, and connect it to the end of the outer upper arch. If you have a straight edge on your eyelash curler, you can use that as a guide as well.
Now that you’ve finished the hardest part, it’s time to play around with your look. Some TikTokers have added a bit of shimmer to the lid beneath the crease, while others have gone with a full matte finish. You can even pop a brighter color over your lid if you’re feeling bold.
Bonus: This look has been tried and tested on hooded eyes, too. Here’s an A+ example of how this cut crease will look on a hooded eye shape with a visual step-by-step.
Eyeshadow looks aren’t always intuitive, especially dramatic ones like the cut crease. Thanks to TikTok, now you know how to create the perfectly blended cut crease that’s easy, mess-free, and quicker than the traditional method. If you don’t have the perfect curler for this technique, you can find your new go-to here.
Heal Your Skin.
Receive your FREE Doctor-Approved Beauty Guide
You are now subscribed
Be on the lookout for a welcome email in your inbox!
https://www.mindbodygreen.com/articles/how-to-nail-cut-crease-using-your-eyelash-curler